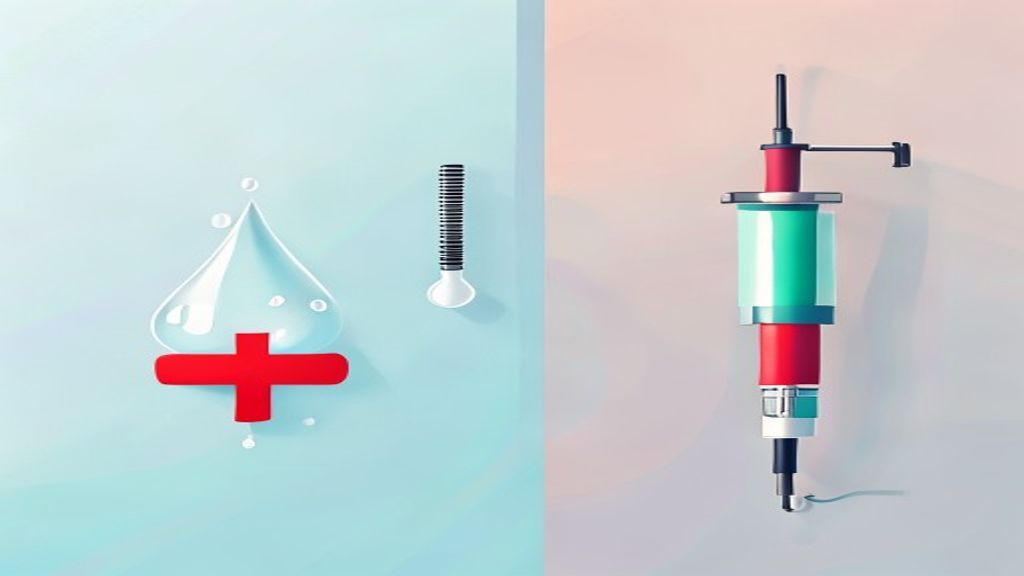
Microsuction Vs Water Syringing: Which Is Better For Your Ears?
If you have ever felt like you’re living underwater or like someone has stuffed a cotton ball deep inside your head, you know how frustrating blocked ears can be. I see it every single week in my clinic. Impacted cerumen (the technical term for ear wax that has become stuck and hard) can cause everything from mild annoyance to significant hearing loss and even dizzy spells.
When my patients come to see me for ear wax removal in Perth, they usually ask the same question: "Should I just go to my GP for a quick flush, or is this microsuction thing actually better?"
Now, I’ve been in this game a long time. I’ve seen the good, the bad, and the downright messy when it comes to ear health. While the old-school "water syringe" method was the standard for decades, technology has moved on. Today, I’m going to break down why microsuction is the gold standard and why you should think twice before letting someone blast a jet of water into your ear canal.
What Exactly Is Water Syringing?
Traditional water syringing (also known as irrigation) involves using a manual syringe or an electronic irrigator to pump water into your ear canal. The idea is that the water pressure gets behind the wax and flushes it out into a little plastic tub you hold under your ear.
It sounds simple enough, but there are a few major "gotchas" you need to know about:
- Blind Procedure: The person doing the syringing can’t actually see what’s happening while the water is flowing. They are essentially "aiming and praying" that the pressure hits the wax and not your eardrum.
- The "Wet" Factor: Introducing water into the ear canal can create a damp environment. If that water doesn't dry out completely, you’re looking at a high risk of otitis externa (an infection of the outer ear canal, often called "swimmer’s ear").
- Pressure Risks: If the water is pumped in too hard, or if your eardrum is already weakened, it can lead to a perforated tympanic membrane (a hole or tear in the eardrum).
I once had a patient named Bazza who came to see me after a GP syringing went wrong. He’d had his ears "flushed" three days prior, and by the time he got to me, he had a raging infection and couldn't hear a thing. Do not risk your hearing on an outdated method if a safer alternative is available.

Enter Microsuction: The Modern Professional Choice
Microsuction is the method we use here at Pristine Hearing Perth, and frankly, it's a world apart. We use a high-powered microscope to look directly into your ear canal (providing what we call direct visualisation) and a tiny, medical-grade vacuum to gently suck the wax out.
Here is why I recommend microsuction to every single one of my patients:
- Total Visibility: I can see exactly where the wax is and where your eardrum is at all times. This makes it incredibly precise and much safer.
- It’s a "Dry" Technique: No water, no mess, and no increased risk of infection from trapped moisture.
- Faster and More Effective: In most cases, we can get the job done in minutes. Bob’s your uncle, and you’re back to hearing clearly.
- Safe for Everyone: Even if you have a perforated eardrum, a mastoid cavity, or a history of ear surgery, microsuction is generally safe. Water syringing is a massive "no-go" in these scenarios.
Keep reading this post as we explore the specific reasons why microsuction wins every time.
The Side-by-Side Comparison: Why It Matters
Let’s look at the hard facts. Research shows that while water syringing works, its complication rate is significantly higher than microsuction.
| Feature | Water Syringing (Irrigation) | Microsuction (The Pristine Way) |
|---|---|---|
| Risk of Infection | Higher (due to moisture) | Extremely Low (Dry technique) |
| Risk of Eardrum Damage | Possible (pressure-based) | Minimal (Precision-based) |
| Can see the wax? | No (Blind procedure) | Yes (Under microscope) |
| Success Rate | ~63% first time | ~91% first time |
| Messy? | Yes (Water everywhere!) | No (Clean and tidy) |
Now that we have looked at the technical differences, let's talk about the actual experience.
A Real-World Example: Sheila's Story
I remember a patient, Sheila, who was terrified of having her ears cleaned. She’d had a bad experience with syringing years ago that left her dizzy and sore. She’d been putting up with a "blocked" feeling for months because she was scared of the water jet.
When she finally came into Pristine Hearing, I walked her through the microsuction process step-by-step. I showed her the tiny suction tip and explained that I would be looking through the microscope the whole time.
The result? She was shocked at how quick it was. She said it felt like a tiny "tickle" and a bit of a "whooshing" sound, but no pain at all. As soon as that plug of wax came out, her face lit up. She could hear the air conditioner humming: something she hadn't heard in months!

How to Prepare for Your Ear Wax Removal in Perth
If you’re booked in for a session, there are a few things you can do to make it even easier. Get your Audiologist to check your ears first, but generally, these steps help:
- Use Softening Drops: For 2-3 days before your appointment, use some Waxsol or even just a few drops of olive oil. This softens the cerumen (wax) and makes it much easier for the vacuum to pick it up.
- Avoid Cotton Buds: Do not use cotton buds (Q-tips) to clean your ears! All you are doing is pushing the wax deeper against the eardrum, making it harder (and more painful) for us to remove.
- Stay Still: During the procedure, we need you to be as still as possible. Because we are working with high-powered magnification, even a small sneeze can look like an earthquake through the lens!
What to Expect During Your Appointment at Pristine Hearing
I like to keep things transparent. Here is the exact process I follow when a patient comes in for our ear wax removal service:
- Step 1: Otoscopy. I use a handheld light to look into your ear and confirm that wax is actually the problem. (Sometimes it's just a dead skin build-up or even a stray hair!)
- Step 2: Setup. You’ll sit comfortably while I position the microscope.
- Step 3: The "Hoovering." I gently insert the suction tip. You will hear some noise: it sounds like a loud vacuum cleaner inside your head: but it shouldn’t be painful.
- Step 4: Final Check. Once the wax is out, I do a final sweep to make sure the ear canal is healthy and the eardrum looks perfect.
- Step 5: Hearing Check. If you've been struggling with hearing loss, we can then discuss if you need a full hearing assessment.
Practical Summary: Why Microsuction is the Winner
- It is safer: Less risk of perforated eardrums or infections.
- It is cleaner: No water mess or wet ears.
- It is more precise: I can see exactly what I am doing under a microscope.
- It is faster: Most appointments are over before you know it.
- It works for everyone: Even those with complex ear histories or tinnitus.
Do not go to a clinic that only offers "flushing" or "syringing." Your hearing is too precious to gamble with. Make sure to choose a specialist who uses the latest technology and takes a personalised approach to your ear health.
If your ears are feeling blocked, or if you're just not hearing as clearly as you used to, give us a tingle at Pristine Hearing. We’ve got the tools and the expertise to get you sorted out safely.
Book your ear wax removal appointment here and experience the difference for yourself!